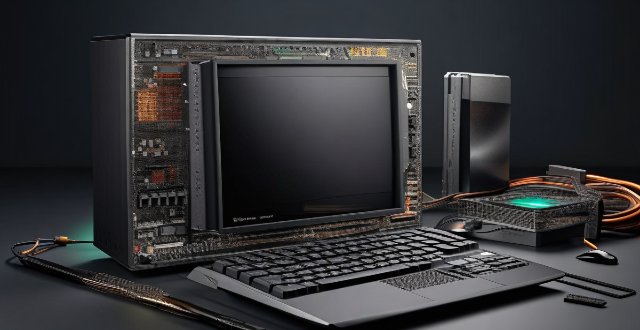
Assembling a computer is a rewarding experience that requires time, effort, and patience. The duration of the assembly process depends on various factors such as skill level, component complexity, and tool availability. Preparation involves gathering tools, choosing a workspace, and organizing components. The assembly process includes installing the CPU, heatsink, RAM, motherboard, storage devices, expansion cards, connecting cables, and power supply. Final steps involve closing the case and testing. Time estimates for each step range from 5 to 60 minutes, with total assembly time ranging from 2 to 6 hours for an average user.

Assembling a Computer: Time and Effort
Assembling a computer is a rewarding experience, but it requires time, effort, and patience. The duration of the assembly process depends on various factors such as your skill level, the complexity of the components, and the availability of tools and resources. In this article, we will discuss the different aspects of assembling a computer and provide an estimate of the time required for each step.
Preparation Phase
Before diving into the assembly process, it is essential to prepare yourself and your workspace. Here are some steps you should take during the preparation phase:
1. Gather Tools and Resources: Ensure that you have all the necessary tools, such as screwdrivers, pliers, and wire cutters. Also, make sure you have access to online resources, manuals, or tutorials that can guide you through the assembly process.
2. Choose a Suitable Workspace: Select a clean, well-lit area with enough space to accommodate all your components and tools. A static-free environment is crucial to prevent damage to sensitive electronic components.
3. Organize Components: Lay out all the components in an organized manner, making sure they are easily accessible during the assembly process. This will help you avoid confusion and ensure that you don't miss any parts.
Assembly Process
Now that you have prepared yourself and your workspace, let's dive into the actual assembly process. Here are the main steps involved in assembling a computer:
Installing the CPU and Heatsink
1. Install the CPU: Carefully place the CPU into the socket on the motherboard, ensuring that it is correctly aligned. Lock it in place using the appropriate mechanism (e.g., lever, clip, or bracket).
2. Apply Thermal Paste: Apply a small amount of thermal paste to the center of the CPU. This will help conduct heat from the CPU to the heatsink.
3. Install the Heatsink: Place the heatsink onto the CPU, aligning it with the holes on the motherboard. Secure it in place using the provided clips or screws. Connect the fan header to the motherboard if necessary.
Installing the RAM
1. Open RAM Slots: Locate the RAM slots on the motherboard and open the retention clips.
2. Insert RAM Modules: Align the notch on the RAM module with the corresponding slot on the motherboard. Gently push down until the retention clips lock into place.
Installing the Motherboard
1. Prepare the Case: Install standoffs or screws into the correct positions in the case to support the motherboard.
2. Place the Motherboard: Carefully lower the motherboard into the case, aligning it with the standoffs or screw holes. Secure it in place using screws.
Installing Storage Devices (HDD/SSD)
1. Install Drive Bays: If necessary, install drive bays or adapters to accommodate your storage devices.
2. Install Storage Devices: Secure your hard drives or solid-state drives (HDDs/SSDs) into the drive bays or directly onto the drive mounts in the case. Connect them to the motherboard and power supply unit (PSU) using the appropriate cables.
Installing Expansion Cards (GPU, Sound Card, etc.)
1. Open PCIe Slots: Locate the PCI Express (PCIe) slots on the motherboard and open the retention clips.
2. Insert Expansion Cards: Align the expansion cards (e.g., graphics card, sound card) with the PCIe slots and gently push them down until the retention clips lock into place.
Connecting Cables and Power Supply
1. Manage Cables: Route cables from the power supply unit (PSU) to their respective components, such as the motherboard, storage devices, and expansion cards. Use cable ties or zip ties to keep them organized and tidy.
2. Connect Front Panel Connectors: Connect front panel connectors (e.g., power button, reset button, LEDs) to their corresponding pins on the motherboard.
Final Steps
1. Close the Case: Once all components are installed and cables are connected, close the case by securing its panels or side panels in place.
2. Test and Troubleshoot: Connect external devices (monitor, keyboard, mouse) and power up your computer. Run tests and troubleshoot any issues that may arise during startup or operation.
Time Estimates
The time required for each step of the assembly process varies depending on several factors, including your skill level and the complexity of the components. However, here are some general estimates for each step:
- Preparation Phase: 30 minutes to 1 hour
- CPU and Heatsink Installation: 15-30 minutes
- RAM Installation: 5-10 minutes
- Motherboard Installation: 10-20 minutes
- Storage Device Installation: 10-20 minutes per device
- Expansion Card Installation: 5-10 minutes per card
- Cable Management and PSU Connection: 30 minutes to 1 hour
- Final Steps: 10-20 minutes
In total, assembling a computer can take anywhere from 2 to 6 hours for an average user with basic knowledge and experience. More complex systems or custom builds may require additional time.