To install new memory in your desktop computer, followTo install new memory in your desktop computer, followine the type of memory you open the computer case, remove old memory if necessary, install the new memory, close the computer case, and test the new memory.
Installing New Memory in Your Desktop Computer
To install new memory in your desktop computer, follow these steps:
Step 1: Determine the Type of Memory You Need
- Identify the type of memory: Check your computer's manual or specifications to determine the type of memory (e.g. DDR3, DDR4) and the maximum capacity it supports.
- Choose the right memory: Select a compatible memory module based on the identified type and capacity.
Step 2: Gather the Necessary Tools
- Screwdriver: You will need a Phillips-head screwdriver to open the computer case.
- Antistatic wrist strap: This helps prevent static discharge, which can damage computer components.
Step 3: Open the Computer Case
- Unplug the computer: Ensure that the computer is turned off and unplugged from the power source.
- Open the case: Locate the screws or latches holding the side panel in place and remove them using the screwdriver. Carefully open the case.
Step 4: Remove Old Memory (if necessary)
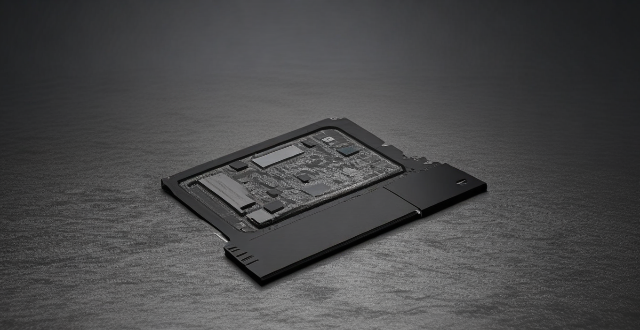
- Locate the memory slots: Look for the memory modules on the motherboard. They are usually located near the CPU.
- Remove old memory: If you need to replace old memory, gently push down on the tabs on either side of the module and pull it out of the slot.
Step 5: Install the New Memory
- Insert the new module: Align the notch on the memory module with the notch in the memory slot. Gently press down until the module clicks into place. Make sure it is securely seated.
- Repeat for additional modules: If you are installing more than one module, repeat the process for each module.
Step 6: Close the Computer Case
- Replace the side panel: Once all memory modules are installed, carefully replace the side panel and secure it with screws or latches.
- Plug in the computer: Reconnect the power cable to the computer.
Step 7: Test the New Memory
- Power on the computer: Turn on the computer and let it boot up.
- Check for errors: If the computer boots up without any errors, the new memory is likely installed correctly.
- Run memory tests: To ensure the new memory is functioning properly, run a memory test program such as MemTest86+.
That's it! You have successfully installed new memory in your desktop computer. Remember to always handle computer components with care and avoid touching any sensitive parts with your bare hands to prevent damage from static electricity.