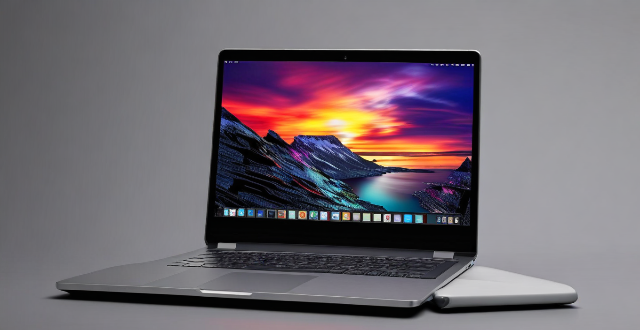
Using an external monitor with a laptop is possible through various video output ports like HDMI, DisplayPort, VGA, and USB-C. To set it up, identify the laptop's ports, choose the right cable or adapter, connect securely, adjust display settings for resolution and layout, and enjoy the expanded workspace.

Can I Use an External Monitor with My Laptop?
Yes, you can use an external monitor with your laptop. Most modern laptops have video output ports that allow you to connect an external display. The most common types of ports are HDMI, DisplayPort, VGA, and USB-C. Here's how to do it:
Step 1: Check Your Laptop's Video Output Ports
First, identify the type of video output ports on your laptop. This information is usually available in the user manual or on the manufacturer's website. Some laptops may have multiple ports, such as HDMI and USB-C.
Step 2: Choose the Right Cable
Once you know the type of port on your laptop, choose a cable that matches both your laptop and external monitor. For example, if both devices have HDMI ports, you will need an HDMI cable. If they have different ports, you may need an adapter or a cable with different connectors on each end.
Step 3: Connect the Cable
Connect the cable between your laptop and external monitor. Make sure the connection is secure and tight.
Step 4: Configure Your Display Settings
After connecting the cable, your laptop should automatically detect the external monitor. However, you may need to adjust your display settings to optimize the screen resolution and layout. Here's how:
Windows
1. Right-click on the desktop and select "Display settings."
2. In the Display settings window, select "Extend these displays" from the "Multiple displays" drop-down menu.
3. Adjust the resolution for each display as needed.
4. Arrange the displays in the correct order by dragging them in the preview area.
5. Click "Apply" to save your changes.
macOS
1. Click on the Apple menu and select "System Preferences."
2. Click on "Displays."
3. Click on the "Arrangement" tab.
4. Check the box next to "Mirror Displays" if you want both screens to show the same content. Uncheck it if you want to extend your desktop across both screens.
5. Adjust the resolution for each display as needed.
6. Arrange the displays in the correct order by dragging them in the preview area.
7. Close the System Preferences window to save your changes.
Step 5: Enjoy Your Expanded Workspace
Now that you've set up your external monitor, you can enjoy the benefits of having more screen real estate for work, gaming, or entertainment.