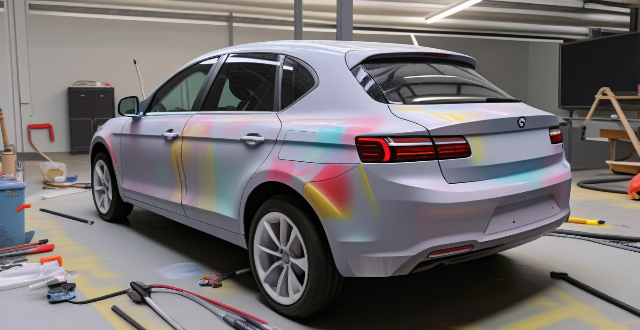
The process of painting a car with a custom color or design involves several steps, including preparation, priming, painting, reassembly, and final touches. The preparation phase involves disassembling the car, cleaning it thoroughly, sanding it down to bare metal or primer, and filling any imperfections. Priming involves applying an etching primer and a sealer coat to promote adhesion between the metal and subsequent paint layers. Painting involves spraying on the custom color or design and then applying multiple coats of clear paint to protect the base coat and give the car a glossy finish. Reassembly involves reattaching all previously removed parts and reconnecting batteries and electronic components. Final touches include polishing the painted surfaces and conducting a thorough inspection to ensure the paint job meets quality standards. By following these steps, a professional-looking custom paint job can be achieved on a car with the desired color or design.

The Process of Painting a Car with a Custom Color or Design
Painting a car with a custom color or design involves several steps, from preparation to the final touches. Here's a detailed breakdown of the process:
1. Preparation
1.1 Disassembly
- Remove all necessary parts from the car, such as trim pieces, mirrors, and door handles.
- Disconnect batteries and other electronic components.
1.2 Cleaning
- Thoroughly wash the car to remove any dirt, grime, or wax.
- Degrease the surface to ensure paint adhesion.
1.3 Sanding
- Sand the entire car down to bare metal or primer using sandpaper or a sanding machine.
- This step ensures a smooth surface for painting.
1.4 Filling and Blocking
- Apply body filler to any imperfections, such as dents or scratches.
- Block the car's surface to achieve a perfectly smooth finish.
2. Priming
2.1 Etching Primer
- Apply an etching primer that promotes adhesion between the metal and subsequent paint layers.
2.2 Sealer
- Apply a sealer coat to protect the etching primer and provide a base for the color coat.
3. Painting
3.1 Base Coat
- Spray on the custom color or design, ensuring even coverage and proper blending where necessary.
- Allow the base coat to dry completely.
3.2 Clear Coat
- Apply multiple coats of clear paint to protect the base coat and give the car a glossy finish.
- Each coat should be allowed to dry and then sanded lightly before applying the next.
4. Reassembly and Final Touches
4.1 Reassembly
- Reattach all previously removed parts, such as trim pieces and door handles.
- Reconnect batteries and electronic components.
4.2 Polishing
- Polish the painted surfaces to remove any minor imperfections and restore shine.
4.3 Quality Check
- Conduct a thorough inspection to ensure the paint job meets quality standards.
- Address any remaining issues before returning the car to its owner.
By following these steps, you can achieve a professional-looking custom paint job on your car with your desired color or design.