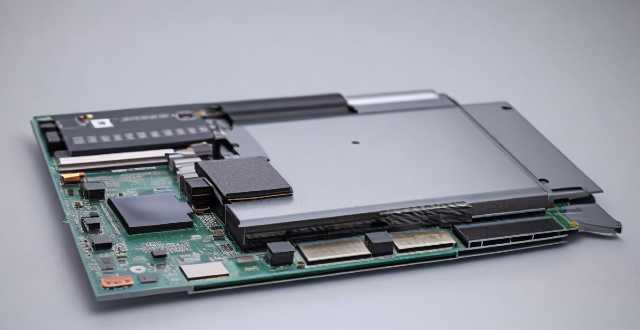
The article provides a step-by-step guide on how to install a network card in a computer. It begins with preparation, including having the necessary tools and turning off the computer. The next steps involve opening the case, locating an available PCI slot, removing the metal plate covering it, installing the network card, securing it, closing up the computer, installing drivers, configuring network settings, and testing the connection. The article emphasizes the importance of handling electronic components carefully and following safety precautions.
How to Install a Network Card in Your Computer
Installing a network card in your computer is a straightforward process that involves several steps. Here's a detailed guide on how to do it:
Preparation
Before you begin, make sure you have the following items ready:
- A network card
- A screwdriver
- An antistatic wrist strap (optional but recommended)
Step 1: Turn Off Your Computer and Unplug It
To avoid any electrical shock or damage to your components, turn off your computer and unplug it from the power source.
Step 2: Open the Case of Your Computer
Locate the case of your computer and remove any screws or clips that are holding it together. Carefully open the case, exposing the internal components.
Step 3: Locate an Available PCI Slot
Look for an available Peripheral Component Interconnect (PCI) slot on your motherboard. This is where you will install the network card. Most modern motherboards have several PCI slots.
Step 4: Remove the Metal Plate Covering the Slot
Remove the metal plate covering the PCI slot by removing the screw holding it in place. Set the plate aside in a safe location.
Step 5: Install the Network Card
Insert the network card into the PCI slot at a 45-degree angle. Gently push down until the card is fully seated in the slot. You should hear a slight click as it locks into place.
Step 6: Secure the Network Card
Screw the network card to the case using the screw you removed earlier. Make sure it is securely fastened but be careful not to overtighten.
Step 7: Close Up Your Computer
Replace the case cover and screw or clip it back into place. Plug your computer back into the power source.
Step 8: Install Drivers and Configure Your Network Settings
Turn on your computer and wait for it to boot up. Once it has finished booting, install the necessary drivers for your network card. You can usually find these on the manufacturer's website or included with the card itself. After installing the drivers, configure your network settings according to your needs.
Step 9: Test Your Network Connection
Finally, test your network connection by opening a web browser and visiting a website. If everything is working correctly, congratulations! You have successfully installed a network card in your computer.
That's it! You now know how to install a network card in your computer. Remember to always handle electronic components with care and follow proper safety precautions when working inside your computer case.