This guide provides step-by-step instructions for installing a new optical drive in your desktop computer. It covers preparation, safety precautions, removing an old drive if necessary, placing and securing the new drive, connecting power and data cables, closing up the case, checking for software and driver installation, and testing the functionality of the newly installed optical drive. It also emphasizes the importance of handling components with care and taking ESD precautions to protect sensitive electronics.
How to Install a New Optical Drive in Your Desktop Computer
Installing a new optical drive in your desktop computer can be a straightforward process if you follow the right steps. Here's a detailed guide to help you through the installation:
Preparation
Before you start, ensure you have the following:
- A new optical drive (CD/DVD/Blu-ray)
- A screwdriver set
- Your computer's manual (optional but recommended)
Power Off and Unplug
1. Shut down your computer completely.
2. Unplug all power cords and external devices for safety.
Open the Case
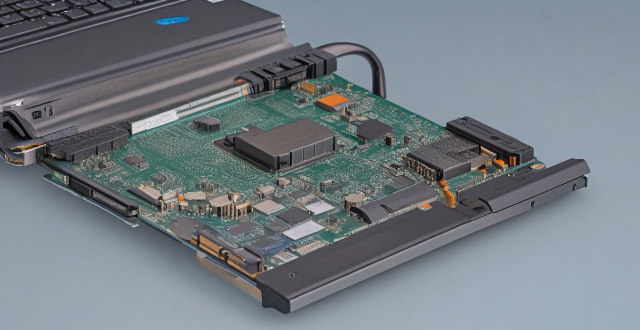
Locate the side panel of your desktop case and use the appropriate screwdriver to remove the panel. This will give you access to the internal components.
Remove Old Optical Drive (If Applicable)
If you are replacing an existing drive:
1. Disconnect the old drive from the power supply and the SATA or IDE data cable.
2. Remove the drive from its bay by unscrewing it from the sides.
Installing the New Optical Drive
Placement
Decide where you want to install the new drive based on available space in your case. Most cases have specific bays for optical drives.
Screw the Drive into Place
Insert the drive into the desired bay and align it properly. Use screws to secure it on both sides.
Connect Power and Data Cables
1. Connect the SATA or IDE data cable from the drive to the motherboard. Make sure it is securely plugged in.
2. Plug the power cable from the power supply unit into the back of the optical drive.
Close Up the Case
Once everything is connected and seems secure:
1. Replace the side panel of your desktop case and tighten the screws.
2. Plug in your monitor, keyboard, and any other peripherals you removed earlier.
3. Connect the power cord and press the power button to boot up your computer.
Software and Drivers
After your computer boots up:
1. Check if your operating system detects the new hardware. In most cases, modern OS like Windows 10 should automatically recognize and install drivers for the optical drive.
2. If not, you may need to download drivers from the manufacturer's website and install them manually.
Testing
Finally, test the new optical drive:
1. Insert a disc and see if it reads correctly.
2. Try burning a disc if your drive supports that feature.
3. Ensure that the eject function works as expected.
If you encounter any issues during the installation or usage of the new optical drive, consult your computer's manual or seek online support forums for troubleshooting tips.
Remember, working inside a computer can void warranties or cause damage if not done carefully. Always handle components with care and ensure proper ESD (Electrostatic Discharge) precautions are taken to protect sensitive electronics.