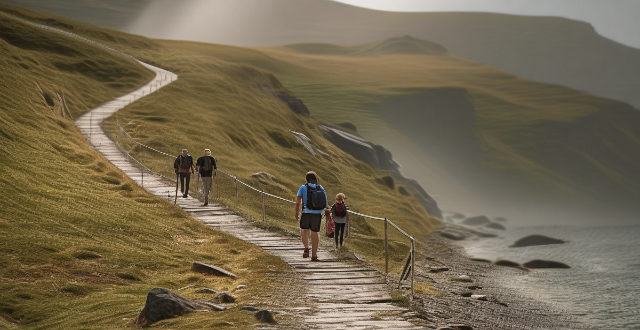
Travel photography can be enhanced significantly through editing. Basic steps include choosing the right software, importing photos, starting with cropping and exposure adjustments, fine-tuning details like sharpness and noise, and applying creative filters. Advanced tips focus on storytelling, lighting, unique perspectives, and artistic post-processing techniques. Regular practice in editing will lead to more captivating travel photographs.

How to Edit Your Travel Photos for Enhanced Quality
Introduction
Travel photography is a wonderful way to capture memories and share your experiences with others. However, not all photos come out perfect straight from the camera. Here's how you can edit your travel photos to enhance their quality and make them even more captivating.
Basic Steps for Editing
1. Choose the Right Software
- Adobe Lightroom: Great for batch processing and non-destructive edits.
- Adobe Photoshop: Ideal for detailed manipulation and complex changes.
- GIMP or Paint.NET (free options): Good for basic adjustments if you prefer open-source software.
2. Import Your Photos
- Make sure your photos are organized in folders by date or location.
- Import them into your editing software for easy access.
3. Start with the Basics
Crop and Straighten
- Use the crop tool to improve composition.
- Straighten crooked horizons or buildings.
Adjust Exposure
- Brightness/Contrast: Adjust to make the photo pop.
- Shadows/Highlights: Recover details in dark or bright areas.
Color Correction
- White Balance: Fix any color casts.
- Saturation and Vibrance: Increase slightly for richer colors.
4. Fine-Tune the Details
Sharpen Your Photos
- Apply slight sharpening to make details crisper. Be careful not to overdo it.
Noise Reduction
- If shooting at high ISO, use noise reduction to smooth out graininess.
Lens Correction
- Fix any distortion caused by the lens used.
5. Creative Adjustments
Apply Presets or Filters
- Use presets as a base and adjust to taste.
- Experiment with filters for unique effects.
Vignette or Grain for Style
- Add a subtle vignette to focus attention on the center of the image.
- Introduce some grain for a film-like texture.
6. Save Your Edited Photos
- Save your edited versions in a new folder.
- Keep originals untouched for archival purposes.
Advanced Tips for Enhancing Travel Photos
1. Tell a Story
- Compose shots that tell a story or convey emotion.
- Use leading lines and symmetry to guide the viewer's eye.
2. Pay Attention to Lighting
- Try to shoot during golden hour for soft, warm light.
- Use natural light to your advantage, like backlighting for silhouettes.
3. Experiment with Perspectives
- Get low or high angles for interesting perspectives.
- Use reflections in water or windows for creative effects.
4. Post-Processing Artistry
- Convert images to black and white for timeless appeal.
- Utilize split toning for a vintage look.
Conclusion
Editing travel photos is both an art and a science. By following these steps and tips, you can significantly enhance the quality of your photographs and make them even more memorable. Remember, practice makes perfect, so keep experimenting and enjoy the process!